
How To Care For Your Plugs- From Young Seedlings To A Tropical Jungle
When it comes to gardening, one of the most satisfying experiences is watching tiny, immature plants grow into lush, vibrant specimens. Plug plants, which are small and often sold as young seedlings, are a fantastic way to start your horticultural journey. However, potting these tiny wonders requires some extra care and attention. In this blog, we'll explore the art of potting plug plants and the special steps needed to nurture these young, immature plants into flourishing greenery.

Why Choose Plug Plants?
Plug plants are a popular choice among gardeners for several reasons. They are cost-effective, convenient, and a great way to grow a wide variety of plants, including flowers, herbs, and vegetables. Here are a few key advantages:
- Cost-Efficiency: Plug plants are generally more affordable than buying fully-grown plants or starting from seeds.
- Convenience: They save you time and effort compared to starting plants from seeds, which can be a labor-intensive process.
- Diversity: Plug plants allow you to try a wide range of plant varieties and experiment with your garden's composition.


Step 1: Choose the Right Pots
Selecting the appropriate pots is crucial for the successful growth of your plug plants. Opt for small, individual pots that provide ample room for your seedlings to grow while preventing overcrowding. These pots should have drainage holes to ensure excess water can escape.

Step 2: Prepare the Potting Mix
Use a high-quality, well-draining potting mix suitable for the specific type of plant you're potting. Many nurseries provide specialized mixes for various plants. Fill the pots, leaving about half an inch of space from the rim.

Step 3: Transplant with Care
Gently remove the plug plants from their containers, taking care not to damage the roots. Create a small hole in the center of the potting mix with your finger or a dibber. Place the plug plant in the hole and gently pat the soil around it. Ensure the top of the plug plant's soil level is flush with the pot's surface.


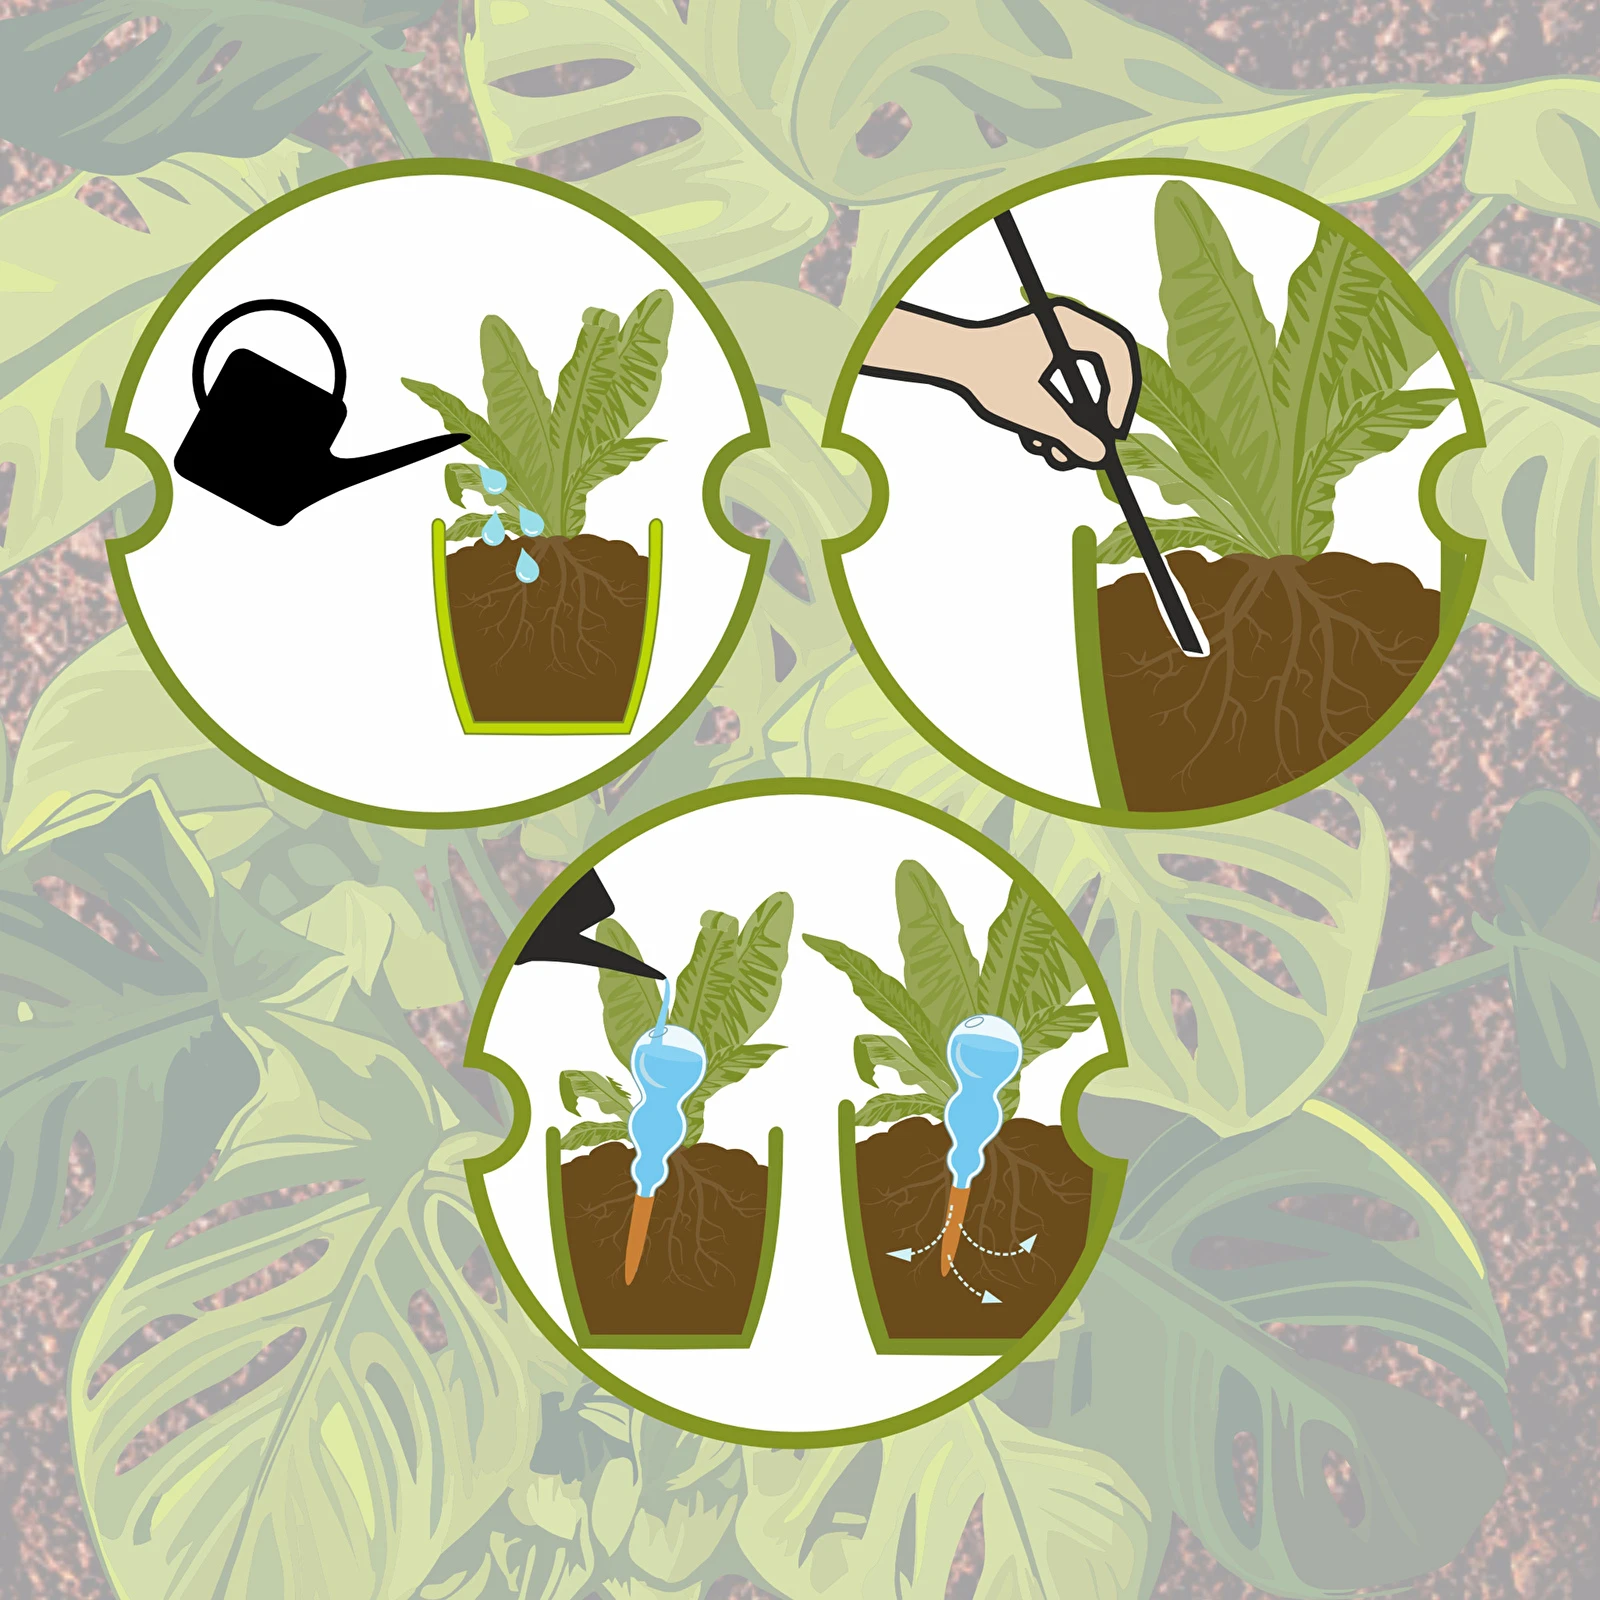
Step 4: Water Thoughtfully
Water your newly potted plug plants thoroughly but gently. It's essential to keep the soil consistently moist but not waterlogged. Overwatering can lead to root rot, so keep a watchful eye on the soil's moisture level.
Step 5: Provide Optimal Light and Temperature
Most plug plants thrive with bright, indirect light. Place them in a location with filtered sunlight to prevent scorching or stress. Pay attention to the specific light requirements of the plant species you're growing.
Maintain a consistent temperature suitable for your plants. Many plug plants prefer slightly warmer conditions, but this varies depending on the type of plant.
Step 6: Fertilize Appropriately
Once your plug plants establish themselves and start showing new growth, introduce a diluted, balanced liquid fertilizer. Follow the manufacturer's instructions, as over-fertilizing can harm the young plants.

Step 7: Monitor and Prune
Regularly check your plug plants for any signs of disease, pests, or overcrowding. Prune or thin them out as necessary to encourage healthy growth and good air circulation.
Conclusion
Potting plug plants is a rewarding experience that allows you to nurture tiny, immature plants into vibrant, thriving greenery. By carefully following the steps outlined in this guide and paying close attention to the unique needs of your chosen plants, you'll be well on your way to creating a flourishing garden filled with the beauty of young, growing life. Embrace the journey, and watch as your plug plants transform into a beautiful testament to your green-thumb expertise. Happy Planting!


